Bunny Box
I found a picture of this type of box on Pinterest , i think it was made using stampin up products but not too sure, i couldn't see any information about it as i was on my phone but i taught that my xcut die was a similar style so taught i would give it a try using that
You will need an A4 sheet of white card and also some pink/Blue depending who you are making it for.
For the box i used xcut dies to make all the shapes, here is the list of dies and sizes i used: Parenthesis 1
die/Glorious Gerbera set/ Oval die set / circle set/ heart die or small punch. You will also need 6 little strips of white card for the whiskers.

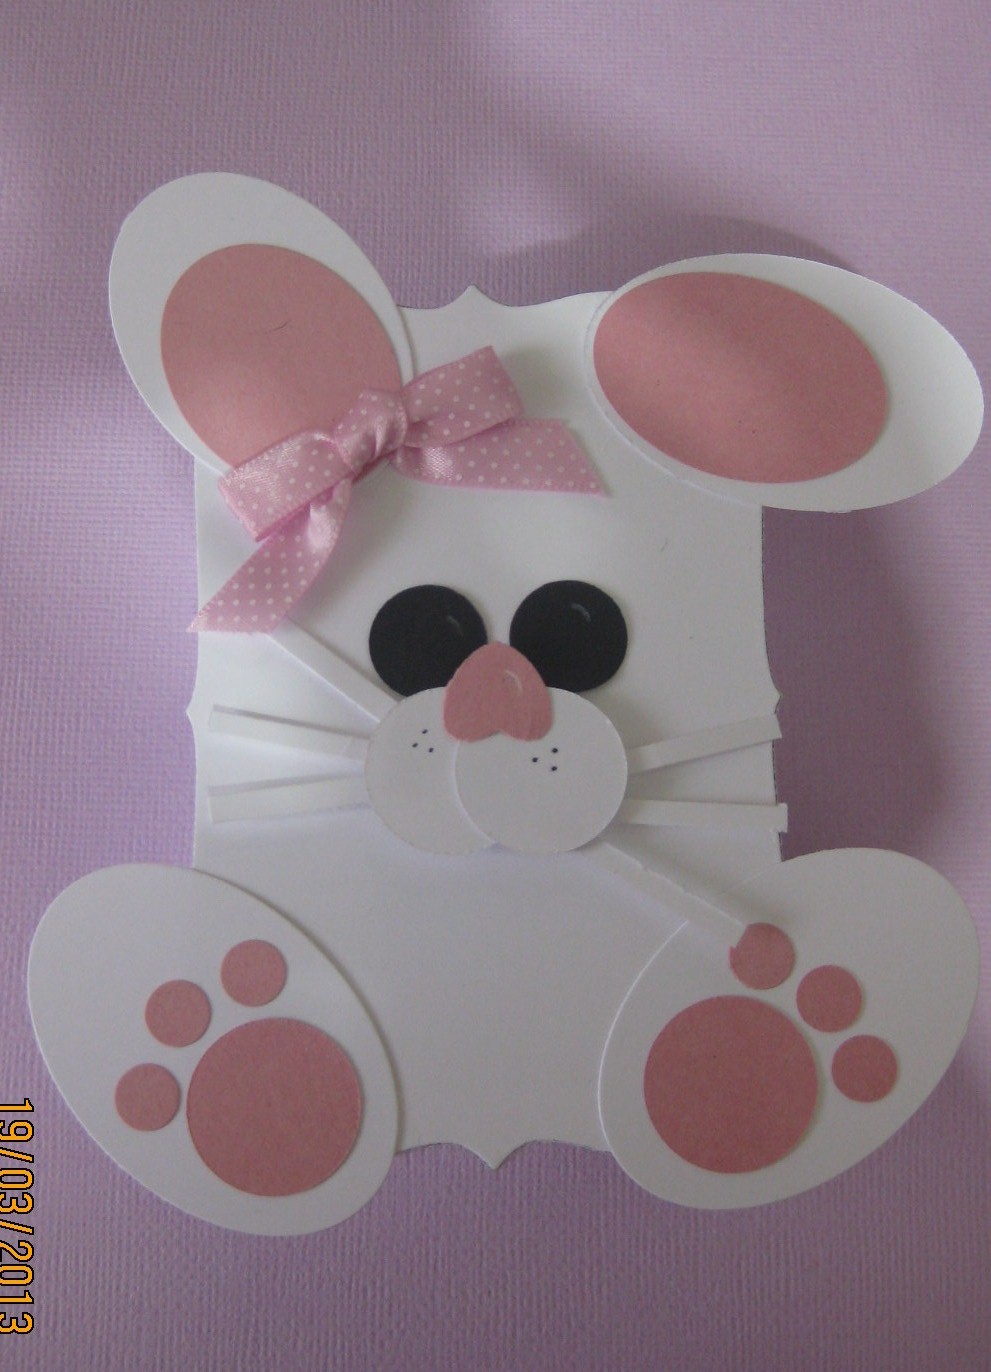
Cut 2 pieces of white card using the 2nd smallest die
Oval die:-
Cut 4 white ovals from the 2nd smallest die
Cut 2 pink/blue from the smallest oval die
Circle Die:-
Cut 2 pink circles from the smallest die
Cut 2 white circles from the smallest die
Glorious Gerbers Die (use the circles out of this set)
Cut 6 pink/blue circles out of the tiny circle
Cut 2 black circles out from the 3rd small circle from this set
Heart Die/Punch:-
Cut a Pink/Blue heart from the smallest heart die/punch

(the 8 1/4" is the width of A4 card stock so you need to cut 5" along the length
- on the shorter side score 11/4" from each side, turn card and score 3 1/2" from each of the sides as in picture, cut along where the score lines form a small square to make the tabs,
- put some wet glue/tape on these tabs and glue to the rectangle section beside them to form base, fold up sides and glue the side flaps to the tabs and then glue the other side flaps to the these.

This is the Box Complete
Attach all the die cut pieces to the box using tape, except for the nose which i used foam pads.