Monday 23 February 2015

Its Been A Long Time

Well i have been gone a long time, during the time i was gone i have had a baby boy (Eoin who is now 10 months), I was in and out of hospital through out the pregnancy hence no crafting and it has taken me till now to get back into it so i hope you enjoy my post and this project.

Well its nearly mothers day again so i have decided to get started on a card for my mum-


Supplies:


A5 card blank
Pink and purple card
Image (crafters companion  inspiration issue 4 cd)


Ok i have collected several of the crafters companion inspiration magazine and have not had much time to use them so while i was looking through them i spotted this image and matching paper and taught it would be just perfect for what i needed.


I cut the image out taking away the writing leaving me with a square topper, which i have matted and layered onto some purple card, then pink and a last layer of purple.

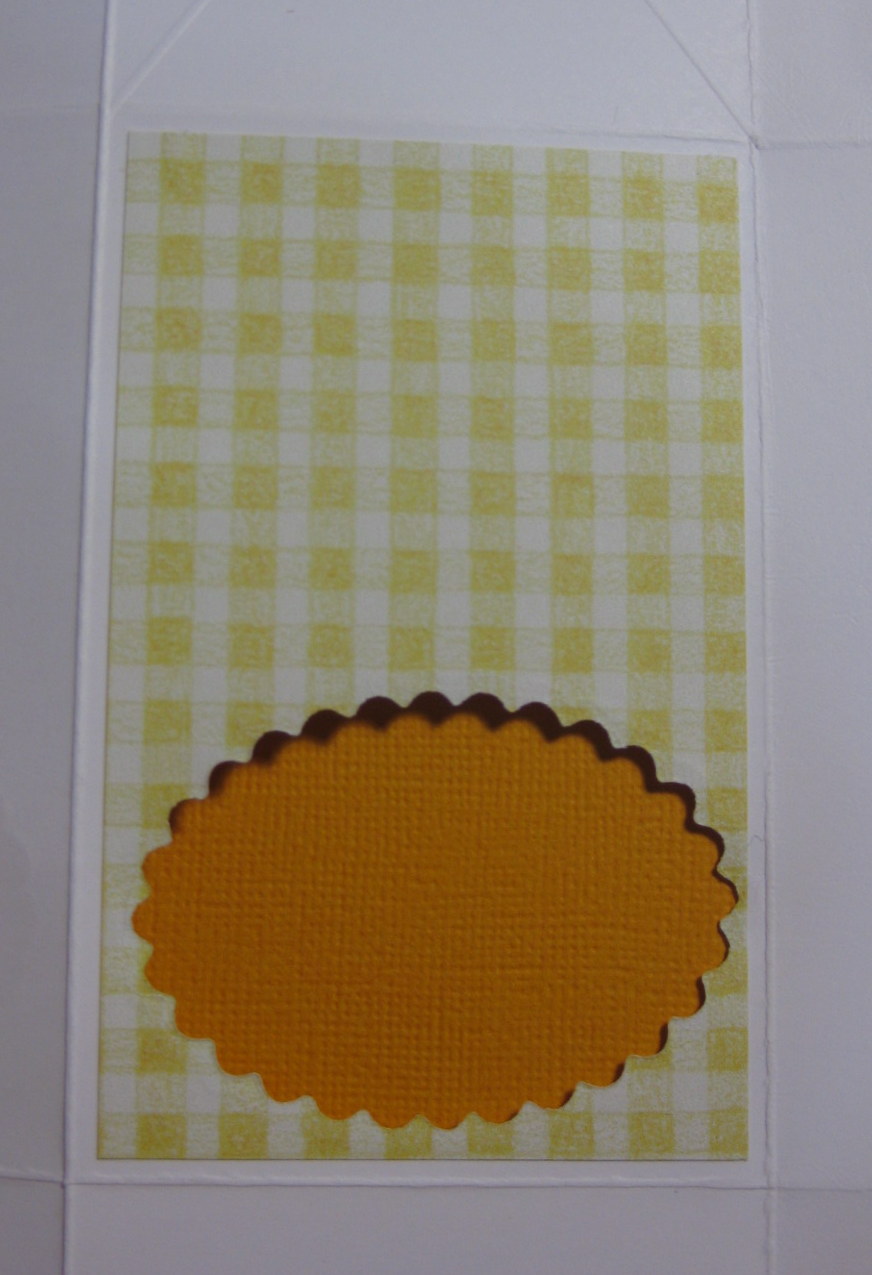
I have also done the same with 2 pieces of the backing paper the first fits the card front leaving just a small white boarder and the second i cut smaller and placed at an angle behind the topper.


The cute little heart also comes from the sheet and i have cut some flowers using my scan and cut (yes i have a scan and cut horrrrrrrrrrray) the svg is from birds crafts.  I have cut the flowers from the same card stock as the mat and layering card so that it would match.


I have used a quilling tool to form the flowers and used some wet glue to secure them together. Once all the flowers where made i attached them to the card using silicone  glue and also added some liquid pearls into the center of them.


I have layered the card together and have attached the heart a sentiment and a bow.


I hope you like this card and have a go yourself.


Thursday 21 March 2013

Bunny Box


Bunny Box


I found a picture of this type of box on Pinterest , i think it was made using stampin up products but not too sure, i couldn't see any information about it as i was on my phone but i taught that my xcut die was a similar style so taught i would give it a try using that

You will need an A4 sheet of white card and also some pink/Blue depending who you are making it for.

For the box i used xcut dies to make all the shapes, here is the list of dies and sizes i used:  Parenthesis 1 
die/Glorious Gerbera set/ Oval die set / circle set/ heart die or small punch. You will also need 6 little strips of white card for the whiskers.


Parenthesis 1 die:-
Cut 2 pieces of white card using the 2nd smallest die

Oval die:-
Cut 4 white ovals from the 2nd smallest die
Cut 2 pink/blue from the smallest oval die

Circle Die:-
Cut 2 pink circles from the smallest die
Cut 2 white circles from the smallest die

Glorious Gerbers Die (use the circles out of this set)

Cut 6 pink/blue circles out of the tiny circle
Cut 2 black circles out from the 3rd small circle from this set

Heart Die/Punch:-

Cut a Pink/Blue heart from the smallest heart die/punch


 For the box you will need a piece of card that id 5"x 8 1/4"
(the 8 1/4" is the width of A4 card stock so you need to cut 5" along the length

- on the shorter side score 11/4" from each side, turn card and score 3 1/2" from each of the sides as in picture, cut along where the score lines form a small square to make the tabs,

- put some wet glue/tape on these tabs and glue to the rectangle section beside them to form base, fold up sides and glue the side flaps to the tabs and then glue the other side flaps to the these.


This is the Box Complete


Attach all the die cut pieces to the box using tape, except for the nose which i used foam pads.


Wednesday 27 February 2013

Easter Bird House

Easter Bird House


 This Little bird house is my favourite project, i learned to make it about four years ago and always go back to it when i need a quick box , it is just so easy to make and quick , it can be decorated to suit any occasions and filled with lots of treats, from sweets to candles and even baby supplies.


We start with a piece of A4 card stock and are going to score at 7cm, 14cm, 21cm, 28cm, this leaves us with a little tab at one end, turn card and score at 5cm from each side.

On the first tab we are going to mark the half way 3.5cm and again on the 3rd tab, then we are going to score up to this mark, as in the picture.

you need to cut out your aperture now while box is flat, you need to do this in one of the rectangles under one of the ones that have the triangle.


you need to cover this section of your box with your pattern papers (i have used some from docrafts "the good life" forever friends retro collection)

put your die in place from behind where you can see where to cut and cut out through the pattern papers

 cover the other sections with your papers and fold and burnish all the score lines

 use some redline tape or wet glue to glue tab
 fold in bottom tabs and glue, i tend to put tape/glue on each tab and stick to each other as it makes the box stronger.


Cut a piece of card stock that is 8cm x 14cm for the roof i have used xcut boarder punch to decorate it and stick this down on one side of the top of the box


   i have used some Velcro fasteners on the other side so that the box can open and close 


i have cut out some more strips with my boarder punch to make the roof tiles
to decorate the front i have used forever friends Easter stamps coloured with promarkers, and have added a little bag of roses.


i hope you like this project and have fun making lots of these for all different occasions. 


Tuesday 26 February 2013

Tissue Box Cover

Tissue Box Cover


Every couple of days i seem to be buying new boxes of tissues and am sick of looking at those ugly boxes so i decided to make a cover to go over the box to brighten them up, these covers are so easy to make and can be changed when you get sick of looking at them.


 The dimensions of this box vary depending on the size of the tissue box you have, i have used Tesco own brand(springforce tissues), this box is 11cmx9.5cm and 12cm high, so i have added 2cm to each of these measurements so that my cover slides over the top of the box.

my measurements are 11.2cm x9.7cm and i have added a 2cm tab to the edge.

using A4 card cut to 22.9cm x 12cm and score at 11.2cm and 20.9, do this twice

now put some redline tape or strong glue on one of the tabs and join the other one to it, 


 Now glue the other tab to make cover.


For the lid add 4cm to the measurement of your box,

Mine was 11.2x9.7 so my measurement for my lid is 15.2cm x13.7 cm and score 2cm all around. cut little notches from tab to make them neater


At this stage you need to cut out your aperture for your tissues, i have used a circle but you can use any shape you have 


 (Decorate the top of your box before you glue)
you now need to glue your tabs into place and put some tape along the top of your box and glue your lid in place.


I have decorated all the sides of my box, by matting and layering up some pink card and pattern papers


To Decorate the top i mat and layered my papers on before i glue tabs and then add my circle die over them from the back to cut out aperture


You can add any decorations you wish to the box and even do a new on for christmas, easter etc..

i hope you enjoy this tutorial and have fun making the box, please feel free to link to your projects as i would love to see them..


Sunday 24 February 2013

Pink and White


                               Pink and White


 I saw the challenge on the Digital Tuesday website and decided to give a card a go for there Pink and White Challenge , i had this crochet boarder given to me by a friend that i wanted to use and now that i have learned to crochet will be able to make myself !!

so i routed around in my digi file for an image and found this pretty girl she came in a bargain bundle of digi's and for the life of me cant find where i bought her from she is coloured using promarkers and the backing papers are from do crafts, the flowers are from my flower stash which i love adding to but hate using.


Saturday 4 August 2012

summer fun


Well its summer time again, not that you would know it 
here in Ireland, the weather thas been dreadfull this year, 
so i taught i would cheer myself up by doing a nice summer
 themed card.


the stamp is from the Joanna Sheen, "Faye Whittaker" 
collection, all the papers are digi papers downloaded and 
the flowers are from my favourite craft shop here in laois 
"country Crafts", to add that little extra to the bow i used a flower made by a very gifted friend "Gearldine" over at little snippets.


I am going to enter this in Little Claire's Designs challenge.


Wednesday 23 November 2011

A hint of Red


Well I guess you have all noticed that I havnt blogged in a long time, I have had a lot going on and hope to get a lot more blogging done from now on, today i was visiting CreatewithKates blog and saw the challenge she was doing so this is what has brought me to the blog today.

I like a lot of establishment and flowers on my  cards and found it very hard to keep things simple, but the minute i saw the challenge rules i pictured this card in my head, i so glad it turned out the way i saw it.