Wednesday 27 February 2013

Easter Bird House

Easter Bird House


 This Little bird house is my favourite project, i learned to make it about four years ago and always go back to it when i need a quick box , it is just so easy to make and quick , it can be decorated to suit any occasions and filled with lots of treats, from sweets to candles and even baby supplies.


We start with a piece of A4 card stock and are going to score at 7cm, 14cm, 21cm, 28cm, this leaves us with a little tab at one end, turn card and score at 5cm from each side.

On the first tab we are going to mark the half way 3.5cm and again on the 3rd tab, then we are going to score up to this mark, as in the picture.

you need to cut out your aperture now while box is flat, you need to do this in one of the rectangles under one of the ones that have the triangle.


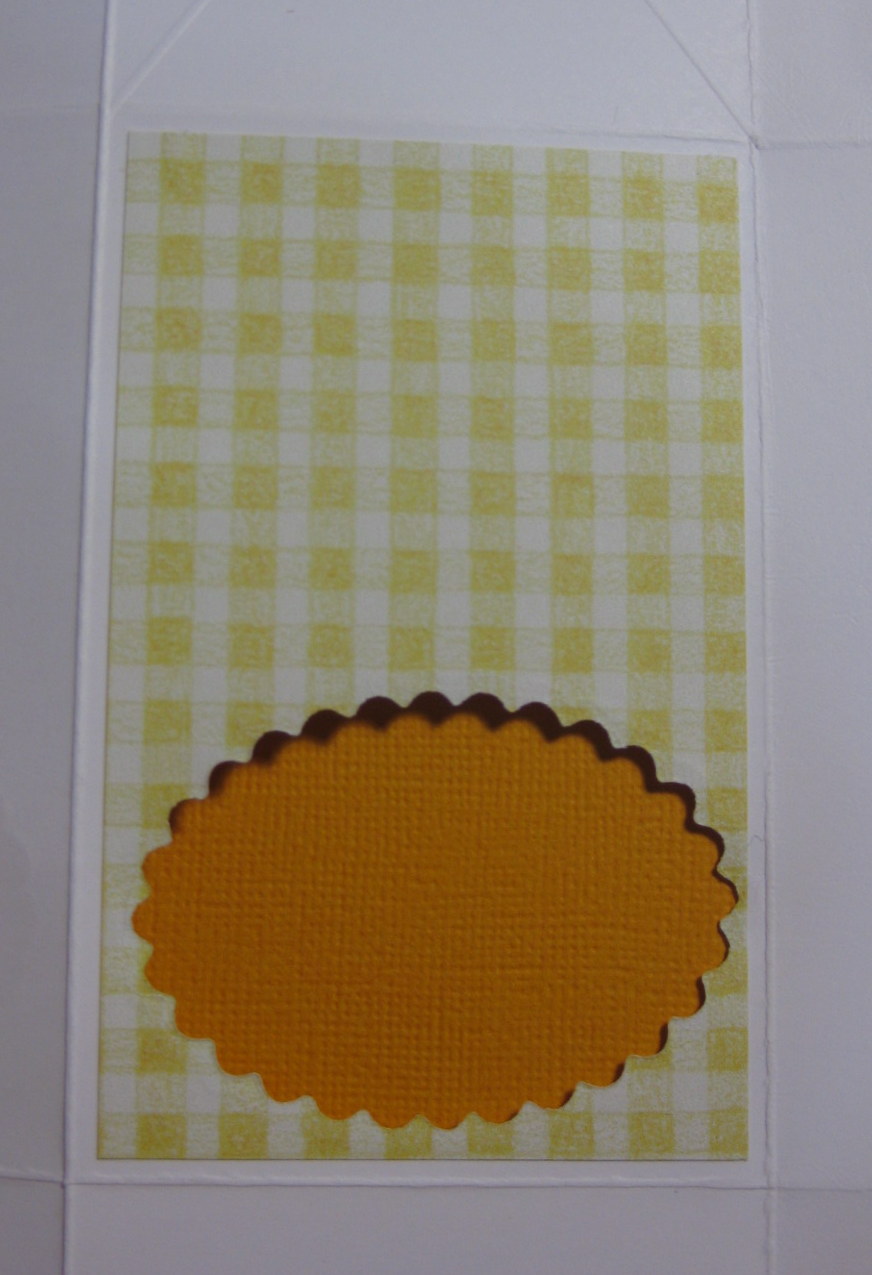
you need to cover this section of your box with your pattern papers (i have used some from docrafts "the good life" forever friends retro collection)

put your die in place from behind where you can see where to cut and cut out through the pattern papers

 cover the other sections with your papers and fold and burnish all the score lines

 use some redline tape or wet glue to glue tab
 fold in bottom tabs and glue, i tend to put tape/glue on each tab and stick to each other as it makes the box stronger.


Cut a piece of card stock that is 8cm x 14cm for the roof i have used xcut boarder punch to decorate it and stick this down on one side of the top of the box


   i have used some Velcro fasteners on the other side so that the box can open and close 


i have cut out some more strips with my boarder punch to make the roof tiles
to decorate the front i have used forever friends Easter stamps coloured with promarkers, and have added a little bag of roses.


i hope you like this project and have fun making lots of these for all different occasions. 


Tuesday 26 February 2013

Tissue Box Cover

Tissue Box Cover


Every couple of days i seem to be buying new boxes of tissues and am sick of looking at those ugly boxes so i decided to make a cover to go over the box to brighten them up, these covers are so easy to make and can be changed when you get sick of looking at them.


 The dimensions of this box vary depending on the size of the tissue box you have, i have used Tesco own brand(springforce tissues), this box is 11cmx9.5cm and 12cm high, so i have added 2cm to each of these measurements so that my cover slides over the top of the box.

my measurements are 11.2cm x9.7cm and i have added a 2cm tab to the edge.

using A4 card cut to 22.9cm x 12cm and score at 11.2cm and 20.9, do this twice

now put some redline tape or strong glue on one of the tabs and join the other one to it, 


 Now glue the other tab to make cover.


For the lid add 4cm to the measurement of your box,

Mine was 11.2x9.7 so my measurement for my lid is 15.2cm x13.7 cm and score 2cm all around. cut little notches from tab to make them neater


At this stage you need to cut out your aperture for your tissues, i have used a circle but you can use any shape you have 


 (Decorate the top of your box before you glue)
you now need to glue your tabs into place and put some tape along the top of your box and glue your lid in place.


I have decorated all the sides of my box, by matting and layering up some pink card and pattern papers


To Decorate the top i mat and layered my papers on before i glue tabs and then add my circle die over them from the back to cut out aperture


You can add any decorations you wish to the box and even do a new on for christmas, easter etc..

i hope you enjoy this tutorial and have fun making the box, please feel free to link to your projects as i would love to see them..


Sunday 24 February 2013

Pink and White


                               Pink and White


 I saw the challenge on the Digital Tuesday website and decided to give a card a go for there Pink and White Challenge , i had this crochet boarder given to me by a friend that i wanted to use and now that i have learned to crochet will be able to make myself !!

so i routed around in my digi file for an image and found this pretty girl she came in a bargain bundle of digi's and for the life of me cant find where i bought her from she is coloured using promarkers and the backing papers are from do crafts, the flowers are from my flower stash which i love adding to but hate using.